A “Never Worry Again” Insulated Ceiling
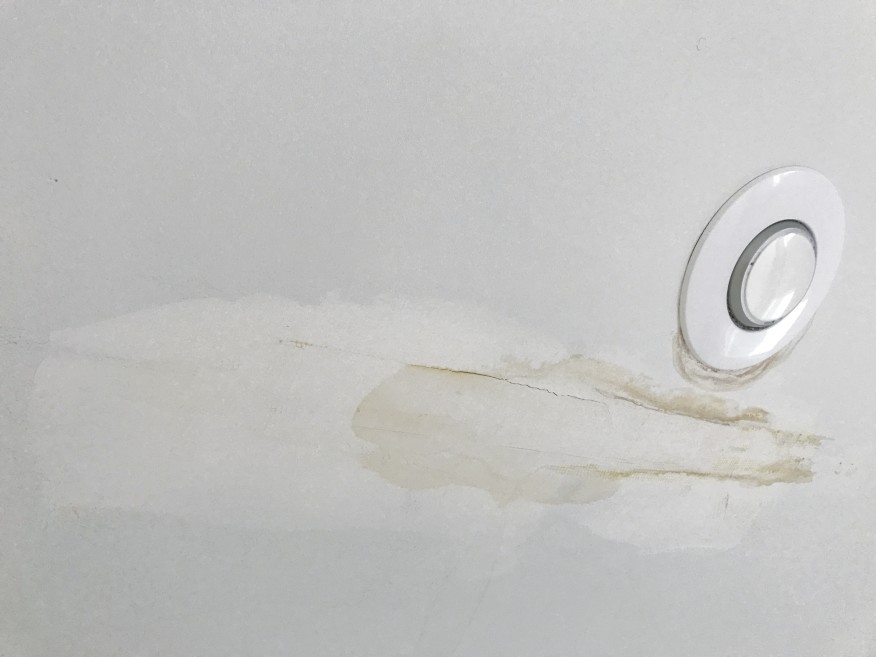
Last winter, I was contacted by a repeat customer who was concerned about water staining on the drywall of the cathedral ceiling in his master bedroom. Over the phone, the customer mentioned having already repaired the water-stained drywall, only after he had a roofing contractor inspect the roof to confirm that it had a clean bill of health. I had an intuition that the “roof leak” and the second-round of drywall damage was caused by something else.
THE PROBLEM
When I arrived at the home, I took one look at the ceiling and knew that we weren’t dealing with a roof leak—we were dealing with an air leak. The location of the water staining was just “downhill” of recessed lights, which can be a common source of heat and air loss when installed in a cathedral ceiling.
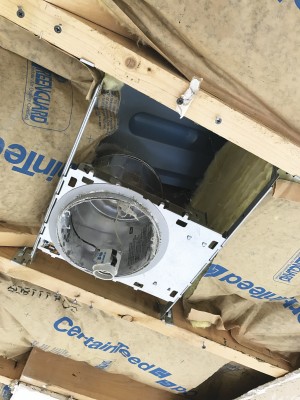
This section of the house, which is located in Climate Zone 5, was renovated two years before my customer purchased the home in 2010. The master-bedroom roof was raised, and from an adjacent vantage point in the attic, I could see that the roof was framed with 2×10 dimensional lumber rather than scissor trusses. The recessed light housings took up about 7 1/2 inches of real estate in a 9 1/4‑inch rafter cavity, leaving little space for both insulation and ventilation above the housings.
After we began demolition, my worst fears were confirmed. The previous contractor had used no insulation over the tops of the cans, and sloppy fiberglass installation on the sides of the housings, or even none at all. Inadequate insulation around and above the light housings resulted in an appreciable amount of air movement and heat loss. In winter months, this combination of air movement and heat loss resulted in air-transported moisture condensing on the underside of the roof sheathing. At times, there was enough condensation to drip from the underside of the roof, collect on the top of the drywall, and make its way into the living space through the path of least resistance.
To add insult to injury, two years after purchasing the home, my customer added a whole-house humidifier to the existing HVAC system. I can only imagine that the added moisture in the air exacerbated the problem.
THE SOLUTION
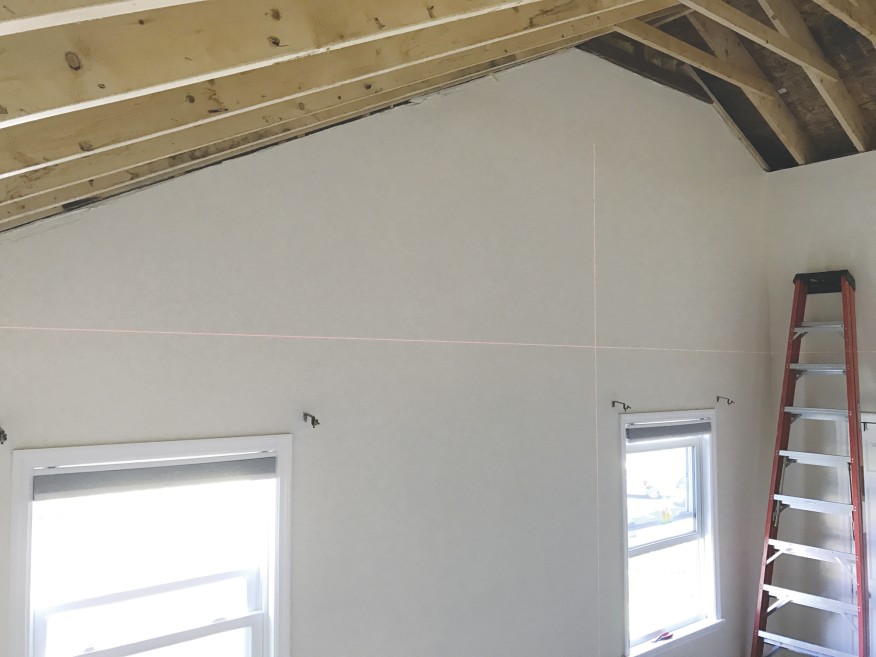
The homeowner expressed a desire to completely eliminate the cathedral ceiling. While removing the cathedral ceiling would mean losing a dramatic feel to the master bedroom, the customer was vocal in his willingness to gain a more intimate space that would be more economical to heat and cool. It would also be easier to paint a lower ceiling and change the lightbulbs. My approach to solving the problem was made much easier by the fact that the homeowner was looking for a “never worry again” solution to the condensation problem.
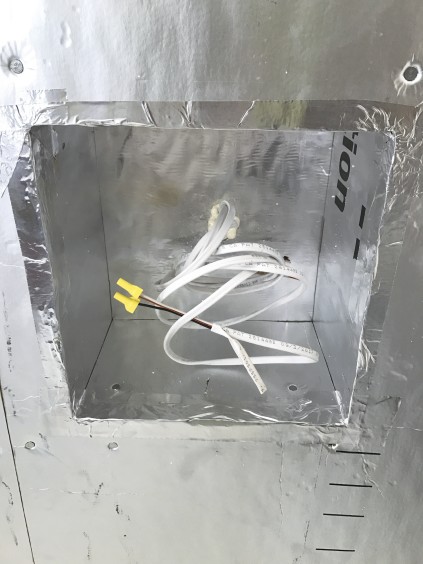
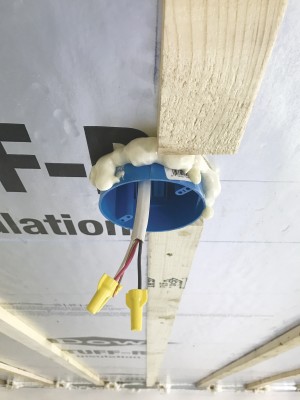
Here are the key elements to the new ceiling as well as the reasons I chose them:
- A new, flat, level ceiling 8 feet off the finished floor. This was more economical to heat and cool and easier for future homeowner maintenance than the previous cathedral ceiling.
- R-38 unfaced fiberglass batt insulation. This formed an economical and practical thermal barrier
- 1-inch foil-faced rigid foam insulation. After being taped at the joints, this layer of insulation became an air and vapor barrier and mitigated any thermal bridging.
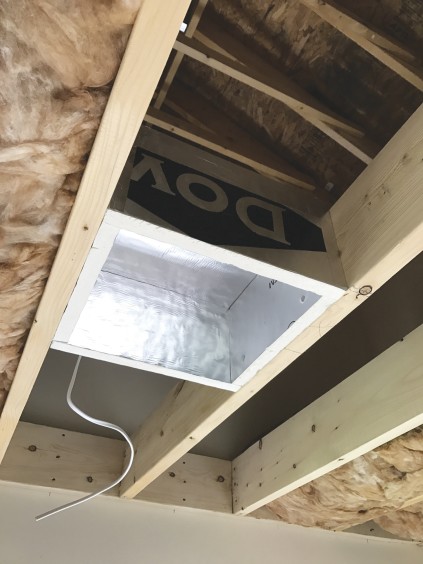
- Recessed light–housing boxes. Rigid foam boxes around the recessed lights ensured a continuous layer of thermal protection and made it easier to air-seal around recessed lights.
- Spray foam sealant. I find this to be the best way to air-seal around penetrations and irregularities and in tough-to-insulate areas.
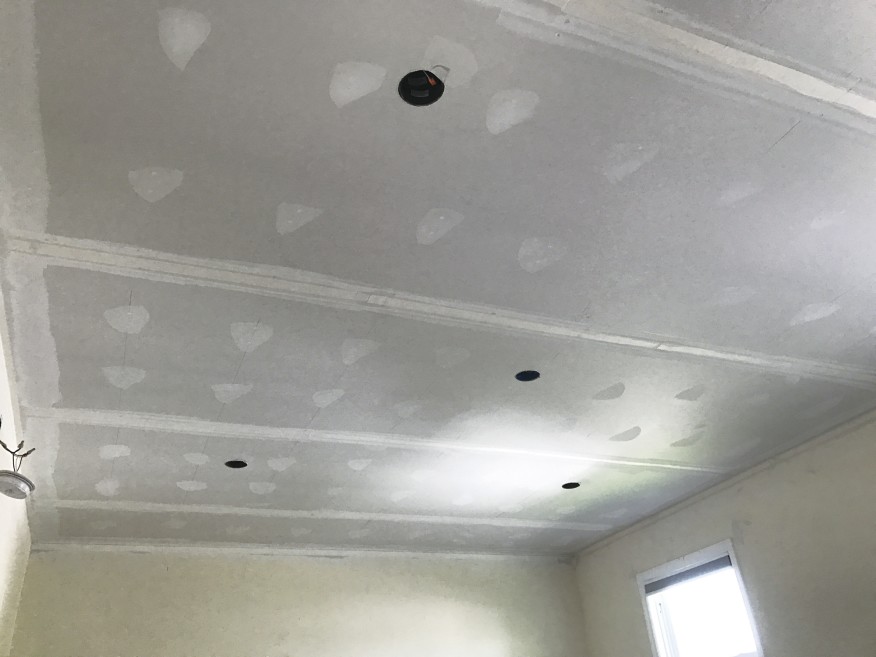
IMPLEMENTATION
Here is my “never worry again” approach to solving the condensation problem, as well as to fulfilling the desire for the homeowner to have a more practical living space.
Step 1. All of the existing drywall, fiberglass insulation, and foam insulation baffles were removed from the sloped and flat portions of the ceiling. Upon taking down the drywall ceiling, I confirmed my hypothesis: Sloppy installation of fiberglass (or none at all) was found adjacent to and on top of all the recessed lights.
Step 2. We removed the existing recessed lights and reconfigured the wiring for the new ceiling.
Step 3. Before enclosing the attic, we inspected the soffits and roof ridge to make sure there were clear pathways for venting the attic area over the new ceiling.
Step 4. The ridge cuts on the existing rafters had been improperly cut, and were shimmed out with 5/8-inch OSB blocking. While I had the ceiling open, I installed joist hangers on the ridge to ensure a more secure rafter connection. A quick notching on the underside of each rafter cut allowed me to properly seat the joist hangers.
Step 5. We set up a laser level to attach a new ceiling ledger board. Then we simply infilled with 2×8 ceiling joists to frame a flat, level ceiling 8 feet off the finished floor.
Step 6. After framing, we installed our electrical wiring drops for our four recessed lights, as well as for the ceiling fan.
Step 7. Recessed lights are notorious for heat loss and air loss. To overcome these problems, we built “boxes” out of 1-inch-thick rigid insulation. These boxes were taped and air-sealed on the bench before we installed them in the ceiling.
Step 8. We installed the light-housing boxes in the locations of our lighting, drilling 3/4-inch holes in the center of the top of the boxes to send in our wire drops.
Step 9. We installed unfaced R-38 fiberglass insulation batts in every joist bay, as well as over the light-housing boxes.
Step 10. The entire ceiling assembly was covered with 1-inch rigid insulation. We taped all of the joints including the joint around the light-housing boxes. The insulation value of the assembly is approximately R-44.
Step 11. Using foam sealant, we sealed the perimeter of the rigid insulation layer where there were gaps against the existing drywall. We also sealed wire penetrations in the light-housing boxes, as well as around the box for the ceiling fan.
Step 12. We installed 5/4×4 (nominal) furring strips as a nail base for our drywall ceiling and support for our recessed lights, using 3-inch deck screws to fasten them through the rigid insulation to the joists. All of the new ceiling joists were marked on the walls, so we could snap chalk lines on the rigid insulation and ensure our screws were absolutely hitting our new framing.
Step 13. We took drywall delivery into the master bedroom from a boom truck. This allowed us to accept 14-foot sheets, so we wouldn’t have any butt-joints in the ceiling. We then hung 1/2-inch drywall on the furring strips. The thicker furring strip gave a nice, positive screw base for our ceiling, which we taped, finished and primed as usual.
Step 14. After painting the ceiling, we installed the trim kits for the recessed lights as well as the new ceiling fan.
ABOUT THE AUTHOR
Jeremy Kassel is the owner/operator of Kassel Construction in Glenmont, NY, as well as the co-host of the House Calls Podcast.
He can be found on instagram at @kasselconstruction.
This article was also featured in the Journal of Light Construction, online and in print, January 2019
